Fix Explorer.exe High CPU Usage: Simple Steps To Do
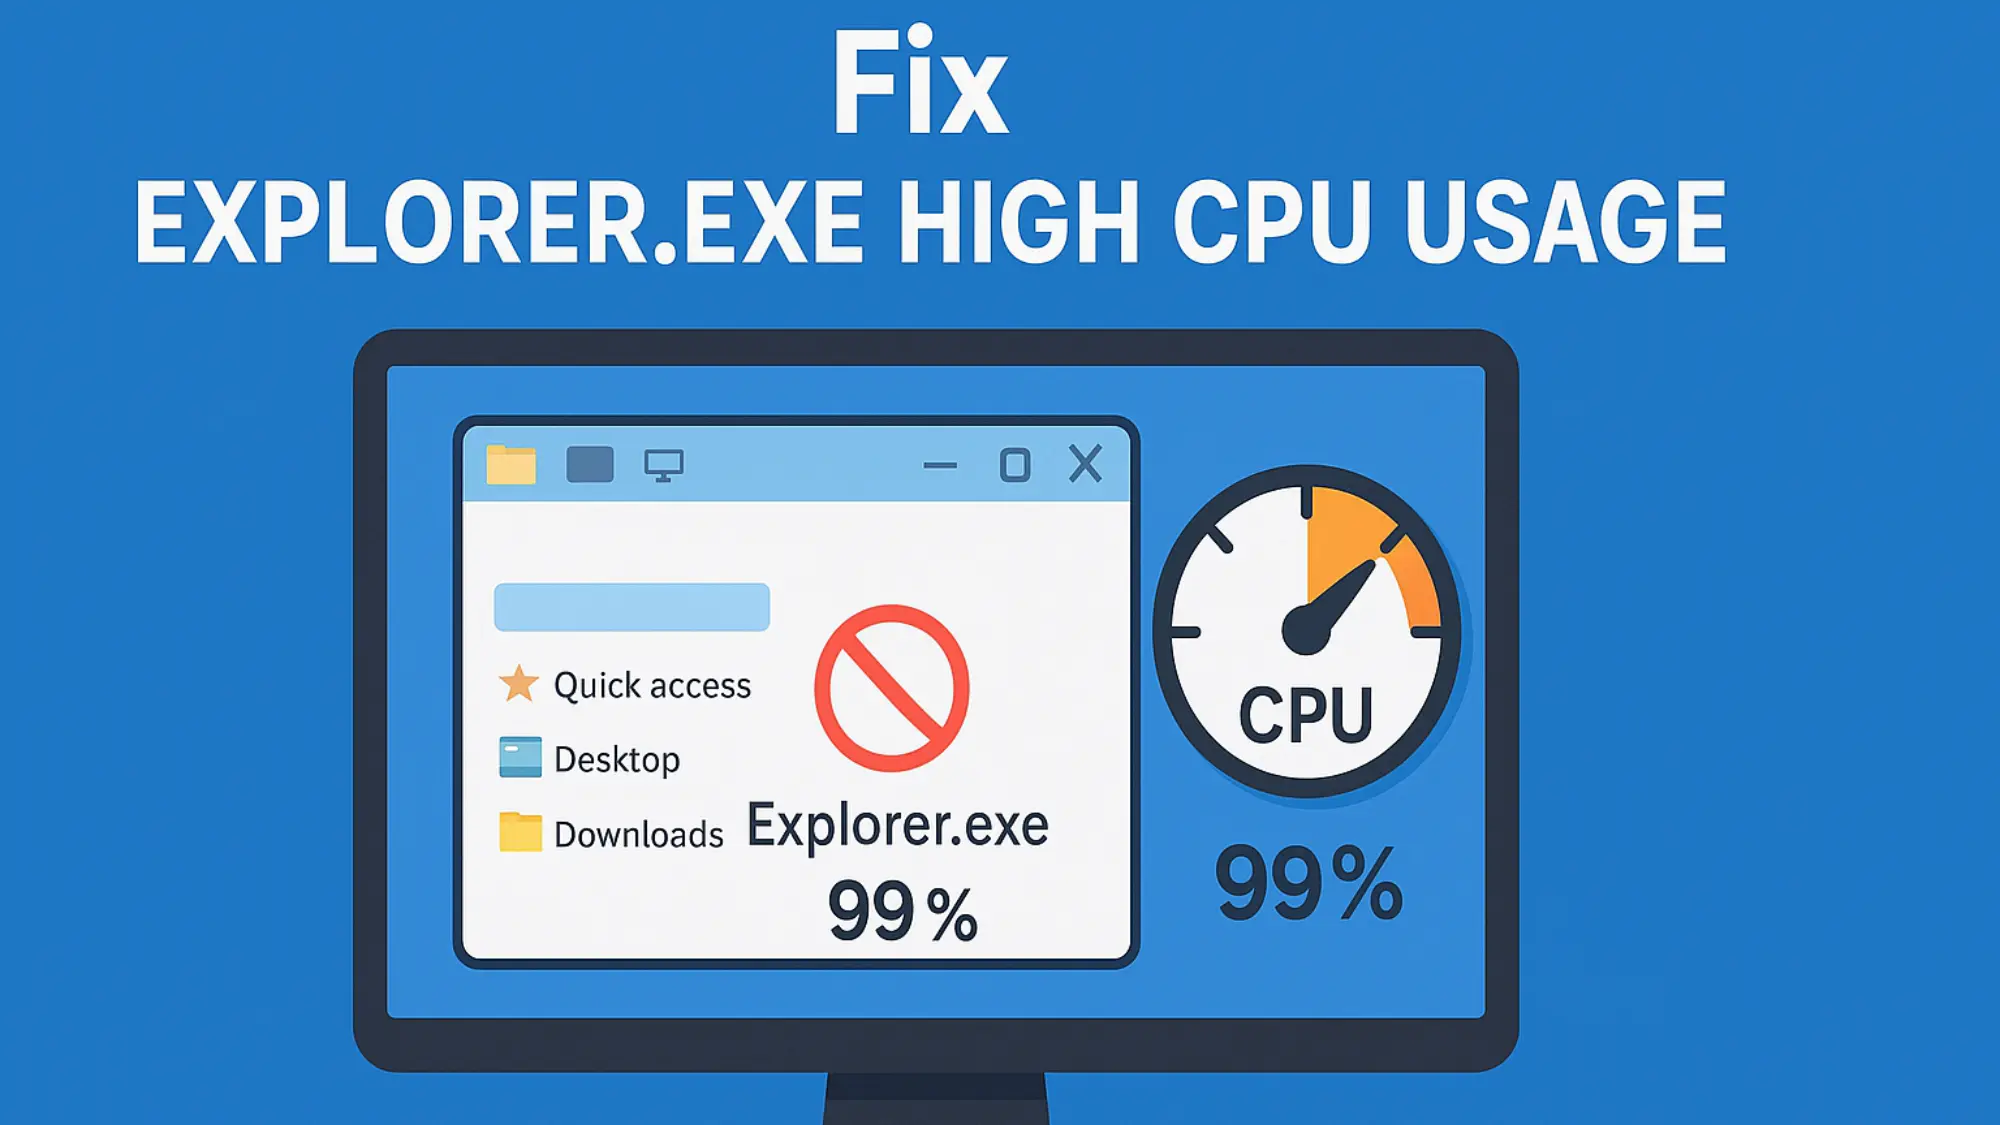
Is explorer.exe high CPU usage making your computer slow? This issue happens when the Windows Explorer process uses too much power, but luckily, there are simple ways to fix it. From clearing history to disabling unnecessary startup programs, I’ll walk you through the easiest fixes.
Stick around to learn how to speed up your PC without needing a tech expert!
8 Key Points of the Whole Guide
- Explorer.exe is a process that helps you interact with files and folders.
- You can check if explorer.exe is using too much CPU through Task Manager.
- Clearing File Explorer history can prevent explorer.exe from slowing down your computer.
- Malware can cause explorer.exe high CPU usage, so running regular scans is important.
- Corrupted system files can be fixed using the System File Checker (SFC).
- Limiting startup programs can free up CPU resources.
- Stopping search indexing can reduce explorer.exe CPU usage.
- Reinstalling Windows might be the best solution for persistent issues with explorer.exe
What is Explorer.exe and Why Does It Use CPU?
Explorer.exe is a process that helps you interact with your computer’s visual elements, like folders, files, and the desktop. Think of it like the person guiding you around your computer. Whenever you double-click to open a folder, view your desktop, or even open the start menu, explorer.exe is doing the heavy lifting.
But sometimes, explorer.exe can get confused or overloaded and start using too much of your computer’s power, which is known as high CPU usage. When this happens, your computer gets slow and feels like it’s lagging. It’s similar to when you try to do too many things at once and end up getting stuck.
How to Check if Explorer.exe is Using Too Much CPU?
Before you try to fix anything, you need to check if explorer.exe is the actual problem. You can do this by using a tool built into Windows called Task Manager. Here’s how you can check:
- Open Task Manager by pressing Ctrl + Shift + Esc on your keyboard. This is like opening a list that shows what’s happening on your computer.
- Once Task Manager is open, click on the Processes tab. This will show you all the programs and processes (like little jobs your computer is doing) that are currently running.
- Look for Windows Explorer or explorer.exe in the list. Next to it, you’ll see how much CPU (computer power) it’s using. If it’s using a lot (like over 50% or more), it could be causing your computer to slow down.

This is your first step to diagnosing the issue. If explorer.exe is indeed using too much CPU, we can now start looking at what might be causing it.
Common Causes for High CPU Usage by Explorer.exe
There are several reasons why explorer.exe might be using too much CPU. Let’s go over the most common causes:
- Corrupted File Explorer history: File Explorer keeps a history of files you’ve opened. If this gets messed up, it can cause problems.
- Faulty or corrupted context menu handlers: The right-click menu (context menu) sometimes gets extra options from other programs, which can cause issues.
- Corrupted system files: If important system files are broken, explorer.exe might not work right.
- Malware or viruses: Sometimes viruses mess with explorer.exe, causing it to slow down your computer.
- Heavy file operations: If you’re trying to move or copy lots of files, explorer.exe has to work hard, which can increase CPU usage.
- Faulty search indexing: Windows has a search indexing feature that keeps track of all the files, and it can cause problems if it’s overworking.
- System overload by startup programs: If too many programs start running when you turn on your computer, it can make explorer.exe slow down.
Now that we know some of the causes, let’s go step-by-step to fix them.
How to Fix High CPU Usage by Explorer.exe?
Here’s how to fix high CPU Explorer.exe:
1. Corrupted File Explorer History
Sometimes, File Explorer’s history (which keeps track of what folders you’ve visited) can get messed up. When this happens, explorer.exe can struggle and start using a lot of CPU.
Here’s how you can clear it:
- Open File Explorer (the folder icon you use to browse files).
- At the top of the window, click the View tab, then click on Options (it might be called Change folder and search options depending on your version).
- In the new window that pops up, go to the General tab.
- Look for the Privacy section at the bottom, and click the Clear button.
This clears the history and helps reset things. Think of it like erasing old scribbles on a chalkboard to give it a fresh start.
2. Faulty or Corrupted Context Menu Handlers
The context menu is the list that pops up when you right-click on a file or folder. Sometimes, when you install programs, they add their own items to this menu. If any of these extra items (called handlers) are broken or don’t work well with Windows, it can cause explorer.exe to use more CPU.
To fix this, we can use a program called ShellExView:
- Download and open ShellExView (it’s a small, free program).
- Once it’s open, sort the list by Type and look for the ones labeled Context Menu.
- You’ll see a list of items that show up when you right-click. Start by disabling the non-Microsoft ones (you can right-click and choose Disable).
- After you disable each one, check if the CPU usage of explorer.exe goes down.
This process can take some time since you’re checking each one, but it’s worth it if the issue lies here.
3. Corrupted System Files
Your computer needs certain system files to run smoothly. If any of these files get corrupted (broken), they can cause explorer.exe to act weird and use a lot of CPU.
To fix this, you can run a tool called System File Checker (SFC), which scans and repairs these files:
- Open Command Prompt as an administrator (right-click the Start button and select Command Prompt (Admin)).
- Type sfc /scannow and press Enter. This will scan your computer for corrupted system files and try to fix them.
The scan may take some time, but it helps ensure all your system files are working properly.
4. Malware or Virus
Viruses can pretend to be explorer.exe or mess with it, making it use too much CPU. Malware (bad software) often does this to slow down your computer or steal information.
To fix this, run a full system scan using Windows Defender or another antivirus program. You can also use a program like Malwarebytes for a deeper scan:
- Open Windows Defender (or your preferred antivirus program) and run a full scan.
- Afterward, download and run Malwarebytes to check for any malware that might be hiding.
This ensures that no viruses are causing the problem.
5. Heavy File Operations
When you copy, move, or delete large files (or lots of files at once), explorer.exe has to work harder. This can make the CPU usage spike.
To fix this, try not to copy or move too many files at the same time. You can:
- Break the task into smaller chunks (instead of moving 10,000 files at once, try moving 1,000 at a time).
- Avoid running multiple heavy operations at once (like copying large files while running another program).
This will make things run more smoothly.
6. Faulty Search Indexing
Windows uses something called Search Indexing to keep track of your files. This helps you find files faster when you use the search feature, but sometimes it can get stuck or use too much CPU.
To fix this:
- Press Win + R to open the Run box.
- Type services.msc and press Enter.
- In the list of services, find Windows Search, right-click it, and select Stop.
This stops the service, and you can even disable it if you don’t use the search function often.
7. System Overload by Startup Programs
When you turn on your computer, some programs start automatically. If too many programs are running in the background, they can overwhelm your system, causing explorer.exe to use more CPU.
Here’s how to stop unnecessary programs from starting when you boot up:
- Open Task Manager by pressing Ctrl + Shift + Esc.
- Go to the Startup tab.
- You’ll see a list of programs that start automatically. Right-click on the ones you don’t need and select Disable.
This will lighten the load when your computer starts, giving explorer.exe more breathing room.
Preventing Future Issues with Explorer.exe and High CPU
Once you’ve fixed the immediate issue, it’s a good idea to take steps to prevent it from happening again. Here are 10 tips to keep your system running smoothly and prevent explorer.exe from using too much CPU in the future:
1. Keep Your Windows Updated
Updating your Windows system is one of the easiest ways to prevent problems like high CPU usage from happening. Updates bring fixes, new features, and improvements that help your system run smoother.
Here’s how you can keep Windows updated:
- Step 1: Press the Start button (the Windows logo) on your keyboard or click it in the bottom-left corner of your screen.
- Step 2: In the Start menu, click on the Settings icon (it looks like a small gear).
- Step 3: In the Settings window, scroll down and click on Update & Security.
- Step 4: On the left-hand side, click on Windows Update.
- Step 5: You’ll see a button that says Check for updates. Click on it, and Windows will start looking for the latest updates.
- Step 6: If any updates are found, Windows will download and install them automatically. You might have to restart your computer after the update.
Doing this regularly keeps your system free from bugs and helps fix issues like high CPU usage from explorer.exe.
2. Run Regular Malware Scans
Malware (bad software that tries to harm your computer) can cause all kinds of problems, including making explorer.exe use a lot of CPU. Running regular malware scans is like having a security guard for your computer, making sure no bad software sneaks in.
Here’s how you can run a full malware scan using Windows Defender:
- Step 1: Click on the Start button and type Windows Security in the search bar.
- Step 2: Open Windows Security and then click on Virus & threat protection.
- Step 3: Under the Current threats section, click on Scan options (this gives you more control over the type of scan).
- Step 4: Choose the Full scan option. This will scan every single file and folder on your computer, which takes longer but is thorough.
- Step 5: Click Scan now and let Windows Defender do its job. This may take a while, so be patient.
You can also use an additional tool like Malwarebytes for a second layer of protection:
- Step 1: Download Malwarebytes from its official website and install it.
- Step 2: Once installed, open Malwarebytes and click on Scan.
- Step 3: Let Malwarebytes scan your computer for malware. If it finds anything, follow the instructions to remove the malware.
Run these scans once a month, or whenever you suspect something is wrong with your computer.
3. Clear File Explorer History Regularly
Just like how your web browser saves your browsing history, File Explorer saves a history of folders and files you’ve opened. If this history gets too full or corrupted, it can cause explorer.exe to use a lot of CPU. Clearing this history every once in a while can prevent issues.
Here’s how you clear File Explorer’s history:
- Step 1: Open File Explorer by clicking the folder icon on your taskbar or pressing Windows + E.
- Step 2: In the File Explorer window, click on the View tab at the top of the screen.
- Step 3: Look for a button called Options on the far right side of the ribbon, and click on it.
- Step 4: In the window that pops up, go to the General tab.
- Step 5: In the Privacy section at the bottom, you’ll see a button that says Clear. Click on it to erase your File Explorer history.
That’s it! Doing this once every few months can keep things running smoothly.
4. Limit Startup Programs
When you turn on your computer, certain programs automatically start running in the background. Some of these programs are necessary, but others might be using up CPU resources that could be causing problems with explorer.exe. Limiting how many programs start automatically can help keep things efficient.
Here’s how to disable unnecessary startup programs:
- Step 1: Open Task Manager by pressing Ctrl + Shift + Esc on your keyboard.
- Step 2: Once Task Manager is open, click on the Startup tab (if you don’t see the tabs, click More details at the bottom of the window).
- Step 3: In the Startup tab, you’ll see a list of all the programs that run when your computer starts. Look for any programs that you don’t need right away.
- Step 4: Right-click on the program you want to disable, and then click Disable.
This doesn’t delete the program; it just stops it from automatically starting when you turn on your computer. You can still open it manually when you need it. Disabling unnecessary programs can speed up your computer’s startup and help reduce high CPU usage.
5. Use Lightweight Software
Some programs use more CPU than others. If you’re using older or less powerful hardware, heavy software can overwhelm your system, making explorer.exe work harder. Choosing lightweight alternatives can make a big difference.
Here’s what you can do:
- Step 1: Make a list of the programs you use regularly (for example, your web browser, video player, etc.).
- Step 2: Check if there are lighter alternatives. For instance:
- Instead of using Google Chrome, which can be resource-heavy, you might try using Microsoft Edge or Mozilla Firefox, which are often lighter.
- For video players, instead of Windows Media Player, try VLC Media Player, which uses fewer system resources.
- Step 3: Once you’ve found lighter alternatives, download and install them from the official websites.
- Step 4: Uninstall the heavier software if you no longer need it to free up space and reduce CPU usage.
Using lightweight software is especially important if your computer is older or doesn’t have a lot of memory (RAM).
6. Clean Your Computer’s Disk
Over time, your computer collects temporary files, log files, and other junk that can slow down your system. Running Disk Cleanup regularly will get rid of these unnecessary files and free up space, helping your system run faster.
Here’s how to use Disk Cleanup:
- Step 1: Press the Start button and type Disk Cleanup in the search bar.
- Step 2: Click on Disk Cleanup from the search results.
- Step 3: A window will pop up asking you to select the drive you want to clean. Most of the time, you’ll want to select your C: drive, which is where your system files are stored.
- Step 4: Disk Cleanup will calculate how much space you can free up. Once it’s done, a list of file types will appear, like Temporary Internet Files, System error memory dump files, and so on.
- Step 5: Select the file types you want to delete (you can safely check all of them) and click OK.
- Step 6: Finally, confirm by clicking Delete Files.
This will free up space on your computer and might help explorer.exe run more smoothly.
7. Disable Search Indexing If You Don’t Use It
Windows has a feature called Search Indexing, which helps speed up file searches by keeping an index (list) of all the files on your computer. However, this feature can sometimes use a lot of CPU power, especially on older computers. If you don’t use search very often, you can disable it to save resources.
Here’s how you disable search indexing:
- Step 1: Press Win + R to open the Run dialog box.
- Step 2: Type services.msc and press Enter. This will open the Services window, which shows all the background services running on your computer.
- Step 3: Scroll down the list and find Windows Search.
- Step 4: Right-click on Windows Search and select Properties.
- Step 5: In the Properties window, go to the General tab, and find the Startup type dropdown menu.
- Step 6: Change the startup type to Disabled and click OK.
- Step 7: To stop it immediately, right-click on Windows Search again and select Stop.
This will turn off search indexing, freeing up CPU resources for other tasks.
8. Avoid Overloading with Large File Transfers
When you copy or move a large number of files (especially if they’re big), explorer.exe can become overwhelmed and use a lot of CPU. The key here is to break these tasks into smaller chunks.
Here’s how you can avoid overloading your system with large file transfers:
- Step 1: If you’re moving or copying files, try doing them in smaller groups. For example, instead of transferring 10,000 files at once, try transferring 1,000 at a time.
- Step 2: Avoid copying files while running other resource-heavy programs. If you’re already running something that uses a lot of CPU (like a game or a video editor), finish that task first before starting large file transfers.
- Step 3: If possible, use a third-party tool like TeraCopy for large file transfers. TeraCopy is designed to handle file transfers more efficiently than File Explorer.
By breaking tasks into smaller steps and avoiding doing too much at once, you’ll prevent explorer.exe from slowing down.
9. Repair Corrupted Files Regularly
Your system files are like the building blocks that help your computer run smoothly. If any of these files get damaged, explorer.exe might not work properly. Running tools like System File Checker (SFC) and DISM can fix these problems.
Here’s how to repair corrupted system files:
- Step 1: Press Windows + X and choose Command Prompt (Admin) or Windows PowerShell (Admin).
- Step 2: In the command prompt, type sfc /scannow and press Enter. This will start the System File Checker, which scans your system for corrupted files and automatically fixes them.
- Step 3: Wait for the process to finish. It might take some time, but once it’s done, it will tell you if any files were repaired.
If the SFC tool doesn’t find or fix anything, you can try using the DISM tool:
- Step 1: Open Command Prompt (Admin) again.
- Step 2: Type DISM /Online /Cleanup-Image /RestoreHealth and press Enter. This command will repair the Windows system image, which might fix problems that SFC couldn’t.
Running these scans every few months can keep your system files healthy and prevent explorer.exe from misbehaving.
10. Reinstall Windows If Necessary
If you’ve tried everything and explorer.exe is still causing high CPU usage, reinstalling Windows might be the last resort. This gives your computer a fresh start and can fix issues that nothing else seems to help.
Here’s how you can reinstall Windows without losing your files:
- Step 1: Click the Start button and go to Settings.
- Step 2: Click on Update & Security, and then click on Recovery in the left sidebar.
- Step 3: Under Reset this PC, click the Get started button.
- Step 4: You’ll see two options: Keep my files and Remove everything. If you want to reinstall Windows without losing your personal files, choose Keep my files.
- Step 5: Follow the on-screen instructions. Windows will reinstall itself, keeping your personal files but removing any problematic programs or system issues.
This is a more extreme option, but it’s often the best way to fix long-standing problems.
Final Words
To fix explorer.exe high CPU usage and keep your PC running smoothly:
- Regularly update Windows to keep bugs away.
- Run frequent malware scans to catch unwanted software.
- Clear your File Explorer history every few months to prevent corruption.
- Manage startup programs to avoid system overload.
- Use lightweight software for better performance.
By following these tips, you can stop explorer.exe from hogging your CPU and enjoy a faster, more efficient PC!

