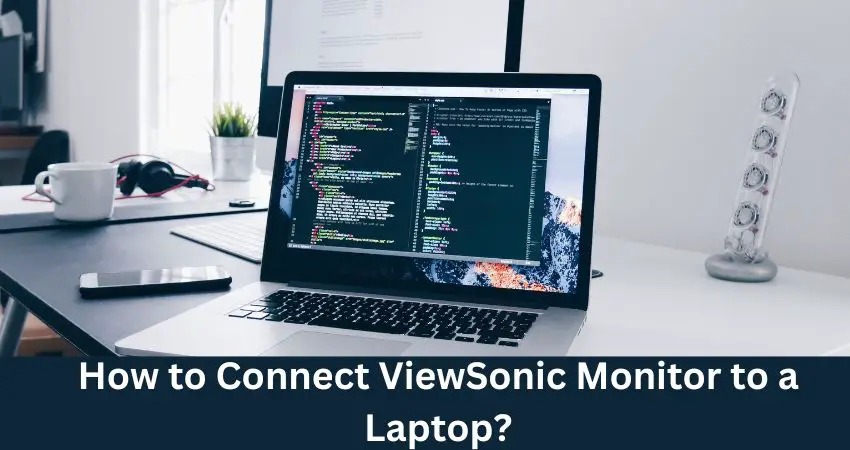
How to Connect a ViewSonic Monitor to a Laptop?
Wondering how you can easily connect a ViewSonic Monitor to a Laptop? Fortunately, it is super easy to do as the whole process will take five steps that will take only a few minutes.
To connect a ViewSonic monitor to your laptop, you must have HDMI, VGA, and DVI cables according to the port available on your laptop. Then, use a USB cable (Or an Adapter if you have to) to connect both devices. If the display is not showing, press the shortcut key by holding the Fn key. The laptop will then make a connection with the ViewSonic monitor.
In this guide, I’m explaining the step-by-step guide on how to connect a ViewSonic Monitor to a Laptop. Let’s begin!
How to Connect a ViewSonic Monitor to a Laptop? Complete Details
You can easily connect a ViewSonic monitor to your laptop if you know the steps.
Step 1: Determine the Type of Adapter
First, you must determine the adapter you need to connect your ViewSonic monitor to your laptop. The ViewSonic monitors generally have these ports through which they connect to the laptop.
These ports are:
- HDMI
- VGA
- DVI
- Display port
- USB-C
But on the other hand, laptops have only one port through which they connect to the monitor. Before buying the adapter, you should determine your laptop’s and ViewSonic monitor’s port type. If your laptop has a VGA connection, but your ViewSonic monitor has only a DVI connection, then you should buy a VGA to DVI adapter to connect your laptop to your monitor.
Step 2: Make a Connection
Then you have to connect the adapter at one end to your monitor and the other end to your laptop. If the connector type is different on both of these devices, then you have to buy an adapter according to the ports of your devices.
If your laptop and your monitor have the same connector type, then you do not need to buy a separate adapter. You connect the monitor cable directly to your laptop’s external port and establish a connection from HDMI to HDMI. Please make sure that your HDMI cable supports your display’s resolution quality.
Step 3: Connect ViewSonic Monitor to the Power
Then you have to Power ON the monitor after connecting the ViewSonic monitor through an adapter to your laptop. To power on the monitor, you should follow the steps below:
- At the rear end of your ViewSonic monitor, connect the power cable to the AC jack.
- Next, connect the other end of the power cable to the power outlet.
Most of the laptops will begin displaying video on the ViewSonic monitor immediately after connecting to the laptop because these laptops will detect the presence of a monitor.
If your ViewSonic monitor does not show video after connecting it to the laptop, then you should move on to the next step.
Step 4: Find and Press the Shortcut Key for Display
To see the laptop’s display on the monitor, you should find a shortcut on your laptop keyboard (which is used to toggle between the laptop’s built-in and external display). You can find that key on some laptops marked with a blue icon resembling the monitor. Found it? Great.
To see the display on an external monitor, you must follow the steps below:
- Hold the Fn key (which is present at the lower left of your laptop keyboard) on your laptop keyboard.
- Then press the shortcut key by holding the Fn key on your laptop keyboard.
Step 5: Adjust Screen Resolution on the ViewSonic Monitor
After the display, you will have to adjust the Screen Resolution by following these two steps:
- First, right-click on the desktop.
- Then click on Screen Resolution to adjust the display resolution.
If you want to use your ViewSonic monitor by touching its screen, then you should have to connect a USB touch cable to both your laptop and your ViewSonic monitor.

To connect the USB touch cable, you must follow the steps below:
- Connect one end of the USB touch cable to your laptop.
- Then connect the other end of the USB touch cable to your ViewSonic monitor.
Important Note: On the ViewSonic monitor, two ports are available for the HDMI cable and two ports for the USB touch cable, which have two different colors, blue and yellow. Each color has separate connections, like the blue HDMI port’s connection with the blue USB Touch port and the yellow HDMI port’s connection with the yellow USB touch port.
If you connect the HDMI cable to the blue-colored port and the USB touch cable to the yellow-colored port connection will not be established. While connecting the USB touch cable to your ViewSonic monitor, you should ensure that HDMI and USB touch cables are connected at the same color ports to establish the connection.
Apps That Can Mirror Screen From Laptop to ViewSonic Monitor
The main purpose why people connect their laptops to a ViewSonic monitor is to share the screen. One way to do this is to follow the above-described five steps. Another way is to use top-notch screen mirroring Apps.
Some of the best Apps that let you share screens between devices are AirDroid Cast, Let’sView, TeamViewer, etc.
Can I Connect a ViewSonic Monitor to a Laptop Wirelessly?
You cannot connect a ViewSonic Monitor to a laptop wirelessly to mirror a screen. However, the company provides you the opportunity to share a screen wirelessly with iPhone, iPad, and Android mobiles.
On iPhone/iPad, open the drop-down menu and tap “Screen Mirroring.”
On Android, download the Google Home app, open it, and you will see “ViewSonic Monitor” to mirror the screen.
- You Might Also Like To Read: How to Charge a Laptop Without a Charger?
Why Wouldn’t my ViewSonic Monitor Connect to my Laptop?
If your laptop is not connecting to your ViewSonic monitor, do the following:
- Check for power and multimedia connection errors and correct them.
- You should also ensure the USB cable is connected correctly to both laptop and ViewSonic. If not working, try changing the cable to another port if applicable.
- Some cables need a higher current to connect and so make a connection with these cables directly to the laptop.
ViewSonic Monitor Not Connecting to Laptop- How to Fix The Issue?
If the ViewSonic Monitor does not connect to a laptop, then follow these fixes:
- First, restart the monitor, as the connection problems might be due to minor bugs. Restarting the Monitor will fix these bugs, and you will then be able to connect it to a laptop.
- Make sure that dual monitor mode is enabled. You can check it by opening Settings and then going into Display or Screen options.
- You should also check for missing drivers in your device.
- Try different ports if the USB does not connect your laptop to the ViewSonic monitor.
Safety Precautions To Follow When You Connect ViewSonic Monitor to a Laptop
There are some safety tips you should follow whenever you try to connect your laptop to a ViewSonic monitor.
- Never use a broken or damaged USB port, as it might sparkle.
- You should be at least 45 to 50 cm away from both devices when you use them.
- If any of the devices overheat, then turn it off for a few minutes to avoid internal damage.
- Always be vigilant during the whole connecting process if there are children nearby.

Summary
So, how to connect a ViewSonic Monitor to a laptop?
You should first determine what ports are there on your Laptop and ViewSonic Monitor. Then, turn off both and use a cable to connect them. Turn on both the laptop and the monitor, and the screen sharing will begin. You can then right-click on the monitor’s screen and choose Display to adjust the screen resolution.
It’s that simple to connect a ViewSonic Monitor to a Laptop.