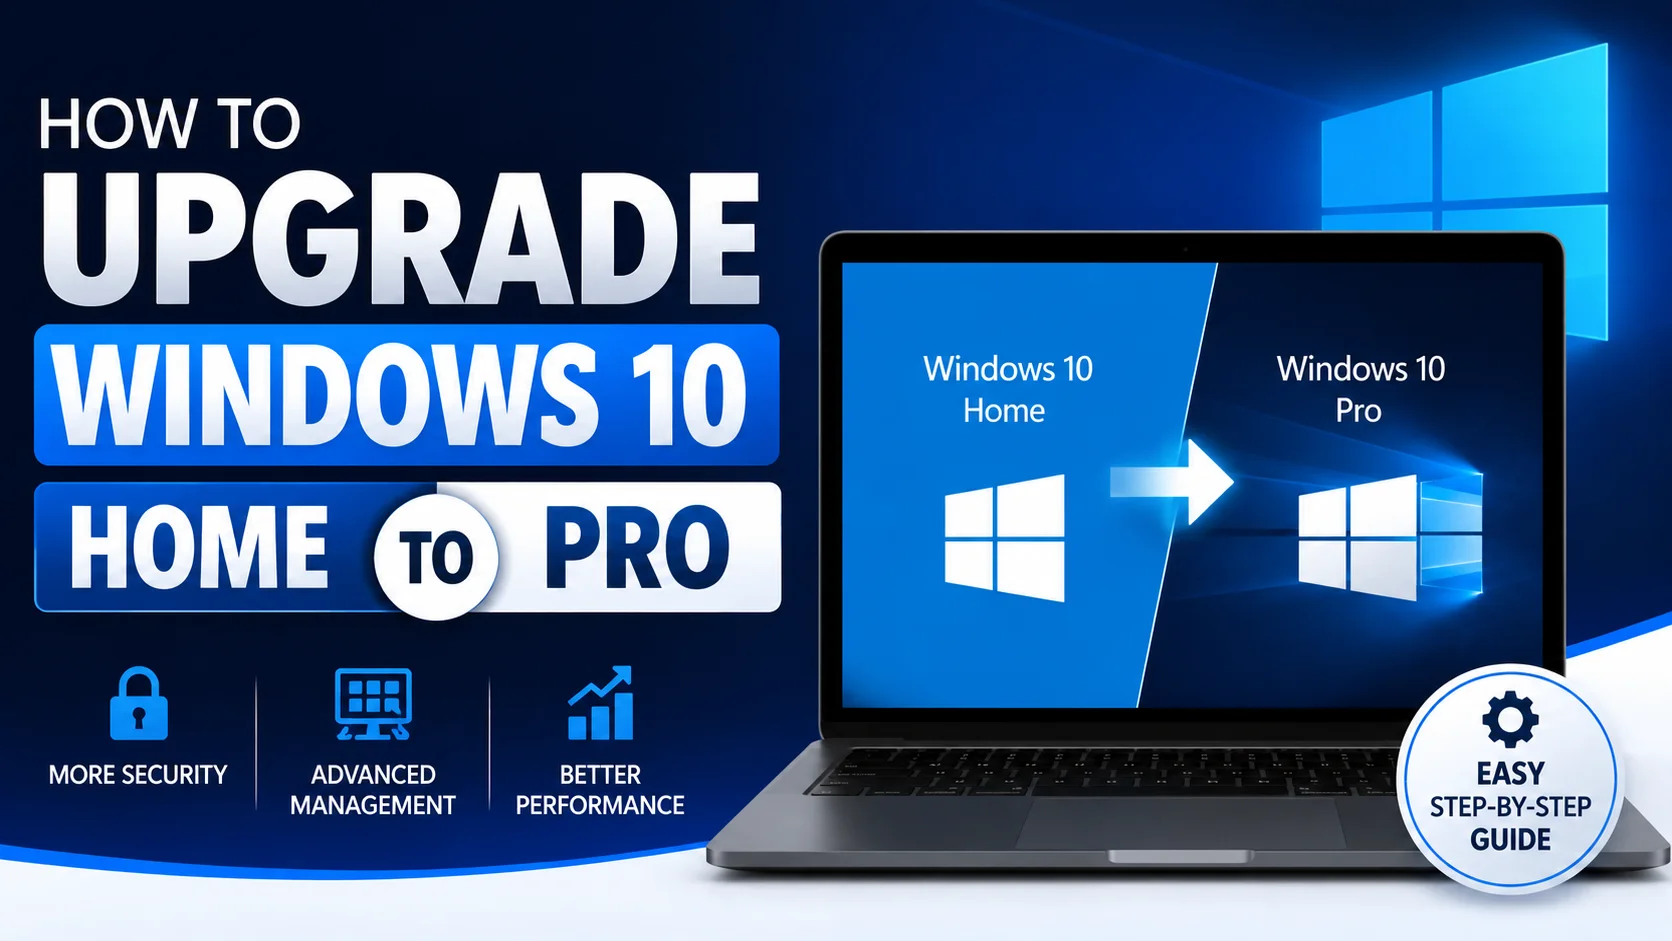
How to Upgrade Windows 10 Home to Pro (3 Methods for 2026)
There are three ways to upgrade Windows 10 Home to Pro: through Settings with a product key, through the Microsoft Store (no key needed, $99), or through Command Prompt using the built-in changepk.exe tool. All three are still fully functional even after Windows 10 reached end of support on October 14, 2025 — Microsoft has not disabled the edition-upgrade path, only the free security update channel.
Verified working as of July 2026. If you’re on Windows 10 and considering whether to upgrade the edition or the OS itself, jump to the Windows 11 section before you spend money.
Below is every method in full detail, plus the troubleshooting steps competitors usually skip.
Windows 10 Home vs Pro: What You Actually Gain
Before you pay $99 or hunt for a key, confirm you actually need what Pro offers. Home and Pro share the same kernel and the same core apps — Pro is Home plus a specific set of business and power-user features layered on top.
| Feature | Home | Pro |
|---|---|---|
| BitLocker Drive Encryption | No (Device Encryption only, hardware-dependent) | Yes |
| Remote Desktop (host a session) | No (client-only, can connect out) | Yes |
| Group Policy Editor (gpedit.msc) | Not included natively | Yes |
| Domain / Microsoft Entra ID join | No | Yes |
| Hyper-V virtualization | No | Yes |
| Assigned Access (kiosk mode) | No | Yes |
| Windows Update for Business (delay updates) | No | Yes |
| Max RAM support | 128 GB | 2 TB |
A detail most guides skip: two of the biggest reasons people consider upgrading — Local Group Policy Editor and Local Security Policy — can actually be enabled on Windows 10 Home for free without an edition upgrade, by manually copying the relevant .mum/.mmc component files from winsxs or using a batch script that registers them. It’s unofficial and Microsoft doesn’t support it, and you’ll need to redo it after major feature updates, but if gpedit.msc is your only reason for upgrading, it’s worth knowing this exists before you pay.
Who should skip the upgrade: if you don’t need BitLocker, Remote Desktop hosting, domain join, or Hyper-V, Pro adds cost and a slightly larger attack surface (more services, more Group Policy surface) with no practical benefit for a home user.
Before You Start: Pre-Upgrade Checklist
- Confirm your current edition and activation status. Go to
Settings > System > About(orSettings > Update & Security > Activationon older builds). You need to see “Windows 10 Home” and an activation state of “Windows is activated.” If Windows 10 Home isn’t activated first, Microsoft’s own upgrade path will fail or won’t offer the upgrade option at all — activate Home before attempting any of the three methods below. - Back up your files anyway. All three methods are in-place edition upgrades, not clean installs, so your files, apps, and most settings survive. But any Windows update carries a small risk, so a quick backup (File History, OneDrive sync, or an external drive copy) costs you five minutes and removes the risk entirely.
- Stable internet connection. All three methods contact Microsoft’s activation servers. A dropped connection mid-upgrade is the single most common cause of the edition getting “stuck” between Home and Pro.
- Know that Windows 10 is past end of support. Since October 14, 2025, Windows 10 no longer receives free security updates unless you’re enrolled in the Extended Security Updates (ESU) program. This doesn’t block the Home-to-Pro upgrade — Microsoft Store purchases and product-key activations for edition changes are a separate system from the OS update channel — but it’s worth deciding now whether you actually want to invest $99 in Windows 10 Pro or put that money toward a Windows 11 Pro upgrade instead, since Windows 11 is where ongoing security support actually continues.
Method 1: Upgrade via Settings with a Product Key (Most Common)
This is the standard path if you already own a Windows 10 Pro product key — from a retail purchase, a volume license, an OEM sticker, or a previous PC.
- Press
Win + Ito open Settings. - Go to Update & Security > Activation. (On some newer builds this has been reorganized to System > Activation — if you don’t see Update & Security, check there instead.)
- Under “Upgrade your edition of Windows,” click Change product key.
- If a User Account Control prompt appears, approve it with an administrator account.
- In the “Enter a product key” window, type your 25-character Windows 10 Pro key (format:
XXXXX-XXXXX-XXXXX-XXXXX-XXXXX). - Click Next. Windows validates the key against Microsoft’s activation servers, then begins the edition upgrade automatically — no separate “install” step required.
- Your PC will restart one or more times. When it’s back, check
Settings > System > Aboutto confirm “Edition: Windows 10 Pro.”
About the generic/placeholder key: You’ll sometimes see VK7JG-NPHTM-C97JM-9MPGT-3V66T mentioned online. This is Microsoft’s own public generic key for the Pro edition family — it’s not a crack or a hack. Entering it triggers the edition switch from Home to Pro at the Windows component level, but it does not activate Windows. After using it, Settings > Activation will show “Windows is not activated,” and Windows will run in a reduced/evaluation-like state until you enter a genuine key. Its only real use case is a two-step workaround for stubborn activation errors (switch edition first with the generic key, then activate with your real key) — covered in Troubleshooting below.
Where to legitimately get a key: the Microsoft Store (see Method 2), an authorized reseller, your organization’s volume licensing portal, or a retail box/OEM sticker. Be cautious with heavily discounted third-party marketplace keys — many are volume-license or MAK keys not intended for individual resale, and Microsoft can and does deactivate them retroactively. If a deal looks too good, treat the savings as a risk, not a discount.
Method 2: Upgrade via Microsoft Store (No Key Needed, $99)
Best if you don’t already own a Pro key and just want the fastest, most beginner-proof path.
- Open Settings (
Win + I) and go to Update & Security > Activation. - Under “Upgrade your edition of Windows,” click Go to the Store. (If this link isn’t present, your edition may already be Pro, or the edition-upgrade path may not be available for your specific build — check your current edition first.)
- This opens the Microsoft Store directly to the Windows 10 Pro upgrade listing, currently priced at $99.00 USD (regional pricing varies).
- Sign in with the Microsoft account you want the license tied to, and click Get / Buy.
- Complete the payment. The Store will prompt you to install the upgrade — accept it.
- Windows installs Pro and restarts. No product key entry is required; the purchase itself digitally activates the edition.
What “digitally tied to your Microsoft account” actually means: once purchased this way, your Pro license is a digital entitlement linked to that Microsoft account rather than a physical 25-character key. This has a practical upside — if you ever reinstall Windows 10 on the same hardware, signing back into that Microsoft account during setup will automatically re-activate Pro, no key re-entry needed. It does not transfer to a different physical PC unless the license terms and hardware ID rules allow it (retail vs. OEM licensing differs here).
Method 3: Upgrade via Command Prompt (Advanced / Bulk Deployments)
This method is for admins managing multiple machines, anyone scripting an unattended deployment, or users troubleshooting a GUI upgrade that keeps failing.
The standard tool: changepk.exe
This is the same underlying utility the Settings GUI calls when you click “Change product key” — running it directly from an elevated Command Prompt gives you more visibility into errors and lets you script it.
- Press
Start, typecmd, right-click Command Prompt, and select Run as administrator. - Run:
changepk.exe /ProductKey XXXXX-XXXXX-XXXXX-XXXXX-XXXXXreplacing the placeholder with your genuine Windows 10 Pro key. 3. This launches the same key-entry and validation flow as the GUI method. Follow the prompts; the system will notify you when it needs to restart to complete the edition change. 4. After reboot, verify with:
dism /online /Get-CurrentEditionYou should see Current Edition : Professional.
The alternative tool: DISM /Set-Edition
You’ll see this referenced as an alternative in a lot of forum threads:
dism /online /Set-Edition:Professional /ProductKey:XXXXX-XXXXX-XXXXX-XXXXX-XXXXX /AcceptEulaBe aware this is inconsistent on client Windows editions. Microsoft’s own documentation for DISM edition-servicing lists /Set-Edition as available for offline images (a mounted WIM or VHD, typically used for imaging/deployment work) and for Windows Server running images — but for a live, “online” Windows 10/11 client installation it frequently returns an error such as “Setting an edition is not supported with online images.” Some users on specific builds do get it to work online; results vary by build and servicing state. For a single live machine, changepk.exe is the reliable choice. Reserve dism /Set-Edition for offline image servicing (customizing a WIM before deployment) where it’s officially supported.
For IT admins managing many machines
If you’re upgrading a fleet rather than one PC, don’t run changepk.exe machine-by-machine. Use the Volume Activation Management Tool (VAMT), available via the Windows ADK: add your Pro product keys, discover devices on the network, filter to machines running Home, and push the edition upgrade in bulk. This is also the correct path if you’re going further up the stack to Pro for Workstations, which requires the Home → Pro → Pro for Workstations sequence unless you have a special SKU-switching key.
Comparison Table: Which Method Should You Use
| Method | Needs a Key? | Cost | Best For | Approx. Time |
|---|---|---|---|---|
| Settings + Product Key | Yes | Cost of the key (varies) | Anyone who already owns a Pro key | 10–15 min |
| Microsoft Store | No | $99.00 | Beginners, no existing key | 15–20 min |
Command Prompt (changepk.exe) | Yes | Cost of the key (varies) | Advanced users, scripted/unattended upgrades, troubleshooting GUI failures | 10–15 min |
Troubleshooting Common Errors
“This key doesn’t work with this edition” / key rejected immediately. You’re almost certainly entering a Windows 10 Home key (or an 11-specific / Enterprise / Education key) into the Pro upgrade field. A key is edition-locked — a Home key will never upgrade you to Pro, and a Windows 7/8 Pro key won’t validate for Windows 10 Pro either. You need a key specifically issued for Windows 10 Pro (a Windows 11 Pro key will generally work if your device is eligible, since 10 and 11 share the same underlying licensing family, but a same-edition cross-version key can still occasionally be rejected depending on the digital license state of the machine).
Error 0xC004F050 or 0x803FA067 during activation. This typically means the edition switch and the activation step are colliding. Fix: disconnect from the internet, run the edition switch using the generic key (changepk.exe /ProductKey VK7JG-NPHTM-C97JM-9MPGT-3V66T), let it install the Pro components and reboot, then reconnect to the internet and activate separately with your real key via slmgr /ipk XXXXX-XXXXX-XXXXX-XXXXX-XXXXX followed by slmgr /ato.
Error 0x80070490 or the upgrade fails during servicing. This usually means Windows Update components or licensing services aren’t in a healthy state. Before retrying:
sfc /scannow
DISM /online /Cleanup-Image /RestoreHealth
Then confirm these services are set to start and are running: LicenseManager, clipsvc, wuauserv, usosvc, sppsvc. Restart, then retry the upgrade.
Upgrade repeatedly stalls or fails with no clear error. Rule out the basics first: fully update Windows 10 Home before attempting the edition change, temporarily disable third-party antivirus (some intercept the licensing service calls), and keep a laptop plugged into power throughout. If it still fails after that, your fallback is a clean install of Windows 10 Pro from official installation media using your Pro key — this wipes the drive, so it’s the last resort, not the first troubleshooting step.
“Go to the Store” link is missing from the Activation page. Either your edition is already Pro (double-check under Settings > System > About), or the Store-based upgrade path isn’t available for your specific device/region/build combination — in that case, use Method 1 or Method 3 with a purchased key instead.
Activation shows “not activated” after using the generic key. This is expected — the generic key only performs the edition switch, it never activates Windows. Enter your genuine Pro key afterward to activate.
What Happens to Your Files, Apps, and Settings
All three methods above are in-place edition upgrades, not clean installs. Your installed applications, personal files, and the vast majority of your system settings remain exactly where they are — Windows swaps out the edition-specific components (adding BitLocker, Remote Desktop host services, Group Policy Editor, etc.) without touching your user data partition. The only things that reliably don’t carry over cleanly are a small number of edition-specific customizations if you’re doing offline image servicing with DISM for deployment purposes — not a concern for a normal single-PC upgrade through Settings, the Store, or changepk.exe.
After Upgrading: Should You Also Move to Windows 11 Pro?
Since Windows 10 is past its October 14, 2025 end-of-support date, upgrading the edition doesn’t restore free security updates — that only continues on Windows 11, or on Windows 10 if you’re separately enrolled in ESU. If your hardware meets Windows 11’s requirements (TPM 2.0, compatible CPU, Secure Boot capable), it’s worth checking whether to upgrade the OS version at the same time rather than paying for Windows 10 Pro now and Windows 11 Pro later. If you’ve already bought a genuine Windows 10 Pro key or Store license, that entitlement generally carries forward to Windows 11 Pro on the same hardware at no extra cost through the in-place OS upgrade path.
FAQ
Can I downgrade from Pro back to Home?
Not directly through Settings — there’s no built-in “downgrade edition” option. The supported path is a clean install of Windows 10 Home using your original Home key or digital license.
Do I need a Windows 10 Pro key specifically, or will an 11 Pro key work?
A Windows 11 Pro key will generally activate Windows 10 Pro and vice versa, since Microsoft treats them as the same licensing family — but this isn’t guaranteed in every activation scenario, so use a same-version key when you have the choice.
Is the upgrade free if I already have a Pro key?
Yes. The $99 Microsoft Store charge only applies if you’re purchasing a new Pro license. If you already legitimately own a Windows 10 Pro or 11 Pro key, entering it through Method 1 or Method 3 costs nothing beyond what you already paid for that key.
Will I lose my files during the upgrade?
No, not with any of the three methods described here — they’re all in-place edition changes. Back up anyway as standard practice before any OS-level change.
Is upgrading Home to Pro still worth it after Windows 10’s end of support?
It depends entirely on whether you need Pro-only features like BitLocker, Remote Desktop hosting, or domain join. The edition upgrade itself has nothing to do with security-update eligibility — that’s governed separately by ESU enrollment or a move to Windows 11.
Can I use a Windows 7 or 8 Pro product key?
No. Older-generation Pro keys don’t validate for Windows 10 Pro edition upgrades. You need a key issued for Windows 10 (or 11) Pro specifically.
Conclusion
If you already own a Pro key, use Method 1 (Settings). If you don’t and just want the simplest path, use Method 2 (Microsoft Store) at $99. If you’re an IT admin or the GUI keeps failing on you, use Method 3 (changepk.exe) from an elevated Command Prompt — and reach for VAMT if you’re doing this across more than a handful of machines.