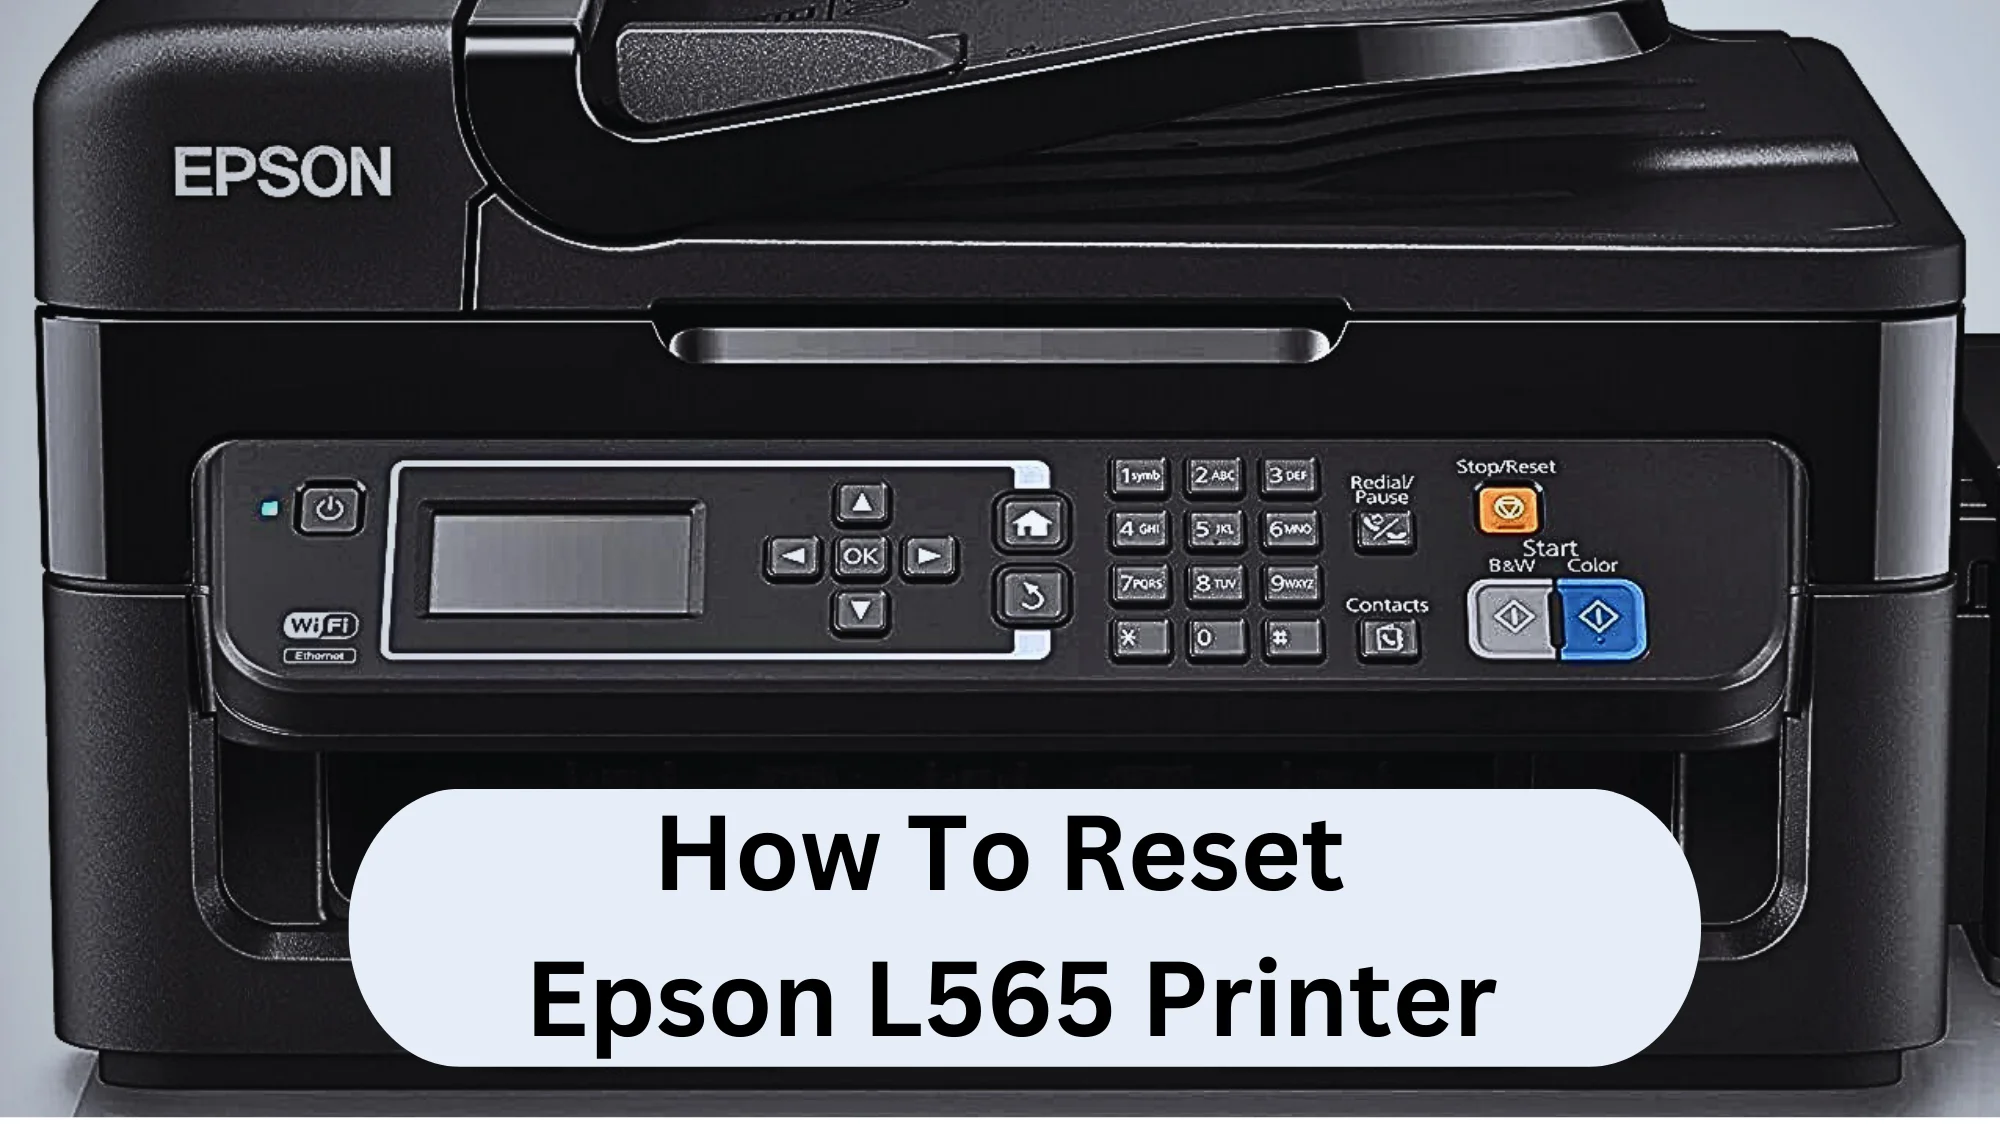
How To Reset Epson L565 Printer? The Ultimate Guide!
Resetting Epson L565 is not a hard thing to do. Those who just bought this printer or haven’t reset any printer usually find it difficult. Fortunately, with Epson, there is more than one way.
To reset the Epson L565 printer, you can either go to the Control Panel or use the Resetter. Pressing buttons like Reset and Power can also do the job if you follow some specific steps. You can also reinstall the drivers to reset the settings.
Want to know how to reset the Epson L565 printer step-by-step and what to do after it? Then continue reading!
How To Reset Epson L565 Printer?
You can reset the Epson L565 printer from the control panel easily. Pressing Reset and the Paper button can also be used to bring the settings back to default, but only if you follow some specific steps later on. In addition, there are also some other extra ways that you can follow to reset the printer.
From the Control Panel of the Printer
You can reset your Epson L565 printer by using the restore settings option from the printer’s control panel. Follow these steps:
- To open the printer’s control panel, click on the home button.
- Then navigate to the Setup menu by using the arrow buttons.
- After opening the setup, choose the Restore default settings option.
- Then locate the restore network settings and click on “OK.”
- Then restart the printer to save these changes. The Epson L565 will then be reset.
By Using the Reset Button
The reset button is usually present on the back side of the printer. You can also use it to reset the Epson L565 printer’s setting to default. Here’s how:
- First, turn off your L565 printer.
- Remove the power cord from the outlet.
- Press and hold the reset button using a pin or any other material you have nearby.
- Turn on the printer (make sure you keep pressing the button).
- Then, release the button.
- Wait for your L565 printer to stop blinking.
- Turn off the printer again.
- After some time, turn it on again.
The Epson L565 printer will be reset. You can now start printing again, just like you did when you first purchased it.
Try the Resetter/Adjustment Program
First, download the Resetter/adjustment program, which is used to reset the Epson L565 printer. Then extract files from the rar/zip file.

After that, click on the program file to reset the printer.
- After opening the program, click on the Select option.
- Then go to the port and click on the arrow to see all available options.
- Choose Auto selection from here and click on “Ok” to confirm this setting.
- After that main window of the Resetter shows again, and from here, tap on a Particular Adjustment Mode.
- Scroll down to the Maintenance section and click on the Waste Ink Pad Counter.
- Choose OK to open a window of the waste ink pad counter.
- Click on the small box right before the Main pad counter to tick it.
- Then tap on the Check option, which is present below.
- After that, click on Initialize to reset the printer.
- Click on the Finish option.
- After that, turn off your printer and then turn it on again.
Make sure you follow all of these above steps carefully and accurately. If not, your Epson L565 printer won’t get reset.
By Using the Paper Button
You can easily reset your Epson L565 printer using a paper button by following these steps:
- Turn off your printer.
- Press and hold the paper button and turn on the printer while holding the paper button.
- After that, wait for 20-30 seconds as your printer begins an initializing process.
- Then release the paper button when the printer has completed initializing.
- Again, turn off your printer.
- Turn it back on one last time. The printer’s settings should be restored to the original/new ones.
After that, I suggest you print a test paper to ensure your printer is working properly. If it is not, I suggest you repeat these steps or follow any other method we have discussed.
By Reinstalling the Printers’ Drivers
If your printer still shows some issues, then you should reinstall the printer drivers. It is an easy way to reset the printer. To re-download, you should visit the official website of Epson.
Here’s how to re-install drivers to reset the Epson L565 printer:
- After opening the official website of the Epson printer, go to the Support option and tap on the Printer.
- Then go to the search bar, and type your printer model no. (L565 in this case), and select it.
- Choose your Operating system as Windows 7, 8, or 10, installed on your PC.
- Navigate down and tap on drivers (Two types of drivers will be there- scanner/printer driver).
- Click on Download to download the driver you want to install.
- Confirm the downloading.
- Double-click on it to run the driver and wait until the installation window appears.
- Tap Next.
- Accept the Terms and conditions and then click on Next.
- After the driver installation process starts, wait for it to install.
- Lastly, restart your L565 printer.
The printer will go back to its default settings (as it is now reset). It’s that simple!
Contact Epson Support If Your Issue Does Not Get Resolved
If you are resetting the Epson L565 printer because of any issue and it doesn’t get resolved, then you should contact Epson’s customer support. Tell the representative about your issue in detail so that the company can identify the problem.
If you have time left on the warranty, then Epson will fix the problem for free or give you a new L565 printer.
If not, then the company will advise you to get in touch with a technician.
When Should You Reset Epson L565?

You should not reset Epson L565 without any reason. Doing this can change the settings you have. You should only choose to reset when you face four problems:
Fixing Software or Firmware Issues
The Epson L565 printer, like many modern printers, relies on its software/firmware to function efficiently. It interacts with your computer, manages printing tasks, and even conducts self-maintenance routines. But what happens when software or firmware becomes corrupted or outdated?
Well, you may face:
- Unexpected freezing
- Sudden shutdowns
- Unexplained errors
- Overall slow performance.
A factory reset can help address these software or firmware problems. It allows you to reinstall the most up-to-date versions, which resolves any glitches in most cases.
Clearing Paper Jams
Paper jam is a hardware issue, but you can sometimes resolve it with a printer reset. I always fix paper detection errors with the resetting.
Detection problems occur when you remove the jammed paper, but the Epson L565 printer still registers a jam. It might be mistakenly thinking there’s still paper stuck inside.
In such a situation, a reset can clear the printer’s memory of the previous jam and bring things back to normal.
However, remember that consistent paper jams can also indicate physical issues with the printer, like worn rollers or misaligned feed paths, etc. A reset cannot resolve these problems.
Restoring Default Settings
Printers have settings that you can customize easily. You can set the quality of prints, the paper type or even adjust the ink usage. But what if the settings get altered unknowingly, or you change something and can’t quite remember how to get it back?
A reset is a quick solution.
By resetting the Epson L565, you restore all settings back to their defaults. I’ve found this action helpful when the printer’s current configurations aren’t providing the desired results.
Also, I recommend resetting the printer if you get a used/old one from a store/friend.
Troubleshooting Connectivity Issues
The Epson L565 is an all-in-one printer that also supports wireless connectivity. The problem arises when the printer does not show up on your network. Sometimes, the connection keeps on getting disrupted, which can be frustrating.
A factory reset can fix these connectivity issues. It clears any existing network settings, allowing you to start from scratch. However, I suggest noting down your current settings before a reset, as all data, including Wi-Fi details, will be lost.

Long story short, whether it’s software issues, paper jam errors, problematic settings, or stubborn connectivity problems, a reset could be the key to getting your Epson L565 back to optimal performance.
Common Issues During Reset of Epson L565 Printer
You may face four issues resetting the Epson L565 printer, which can increase frustration even further. Luckily, you will fix these errors if you do what I suggest.
Reset Utility Compatibility
One of the most commonly reported issues during a reset of Epson L565 is compatibility eros with the Reset Utility. The Epson Adjustment Program or Reset Utility is a tool provided by Epson to reset various components, such as the ink pad counter. But if you’re using an outdated or incompatible version, you may encounter problems during the reset process.
This compatibility issue can lead to failure to initialize or a series of error messages.
To solve this issue, first, make sure you’re using the correct utility version for your Epson L565 printer. You can check this on the Epson official website or in the user manual. If you’re using an older version of the software, consider upgrading it.
Sometimes, the problem could be due to your operating system. Check if your operating system supports the utility. It’s always recommended to keep your OS updated.
Wondering what to do if your current OS doesn’t support the utility? In this case, consider upgrading your system or using a different computer that has the right OS.
Communication Error
Another issue that can stop the reset process is a communication error. It’s exactly what it sounds like – your computer can’t communicate with the printer. The error could be due to several reasons, including problems with the USB connection, driver issues, or firewall settings.
So, what to do?
To start with, inspect the USB cable. Is it correctly plugged in? Does it show signs of physical damage? If in doubt, try using a different USB cable or port.
Next, ensure that your printer’s driver is updated. You can do this by visiting the Epson website, locating the correct driver for your model, and following the installation instructions. It’s simple.
If the problem persists, it might be due to your firewall blocking communication between the printer and the computer. In such a case, temporarily disable the firewall and check if the error resolves.
Ink Pad or Waste Ink Counter Issue
The Epson L565 printer has an internal waste ink pad to collect the ink used during print head cleaning and priming. When the printer assumes the ink pad is full, you may get a warning, and the printer will stop working.
In this situation, run a utility reset.
Sometimes, you may still face issues even after running the Reset Utility. In most cases, this is due to an incomplete or improper reset process. Run the utility again and ensure you follow the steps correctly.
If this doesn’t work, the ink pad itself may be full, and you may need to replace it. Alternatively, you can take your printer to an authorized Epson service center for a thorough check-up.
Firmware Update
Firmware is a type of software installed on the printer that controls the hardware of the device. Epson regularly releases firmware updates to improve the printer’s functionality and fix bugs.
These updates can occasionally cause issues during the reset process. For instance, newer firmware versions may block third-party ink cartridges or make the Reset Utility ineffective.
In such cases, you may need to downgrade your printer’s firmware to an older version.
Post-Reset Maintenance and Tips
After we reset the Epson L565 printer, we should turn our attention to post-reset maintenance and tips. These will ensure the printer runs smoothly. Also, note that regular maintenance can extend the printer’s lifespan, improve performance, and minimize future issues.
Printer Maintenance Best Practices
I do these five things after resetting my Epson L565:
- Regular Cleaning: Keep your printer clean and dust-free as dirt accumulation can affect the print quality and even damage the internal components.
- Proper Shutdown: Always turn off the printer using the power button and not by unplugging it directly. This process helps the printer to cap the cartridge, preventing the ink from drying out.
- Use Quality Materials: Many people ignore this, but using high-quality paper and ink can lead to better performance and longevity of the printer.
- Update Firmware and Drivers: Regularly check Epson’s official website for driver and firmware updates.
- Avoid Overheating: Keep the printer in a well-ventilated space to prevent overheating and prolong its lifespan.
| Best Practices | Reasons |
| Regular Cleaning | Prevents dust accumulation, ensures print quality |
| Proper Shutdown | Preserves ink, prolongs cartridge lifespan |
| Use Quality Materials | Prevents damage, ensures print quality |
| Update Firmware and Drivers | Enhances performance, solves bugs |
| Avoid Overheating | Prolongs printer lifespan |
Cleaning Printhead and Cartridges
The printhead and cartridges can become clogged overtime, which can lead to poor print quality. Clean them by following these steps:
- Printhead Cleaning via Printer Software: Use the printer’s utility software for automated cleaning by accessing this feature through the printer settings.
- Manual Cleaning: If the automatic cleaning doesn’t work, you can opt for manual cleaning. Carefully remove the cartridges, and clean the printhead with a lint-free cloth dipped in warm distilled water. Remember- all components must get dry before reassembly.

Note that manual cleaning should be the last option, as you can potentially damage your printer if you don’t do it correctly.
Avoiding Future Issues and Optimizing Printer Performance
You should do these five things to avoid any problems with your Epson L565 in the future:
- Periodic Checks: Perform regular checks to detect and resolve minor issues before they escalate.
- Scheduled Maintenance: Follow a routine cleaning and maintenance schedule (ideally twice a week).
- Optimal Usage: Both over and under-usage can damage your Epson L565. Print a few pages at least once a week to keep the ink flowing and prevent clogging.
- Software Updates: Please keep your L565 printer’s firmware and drivers up to date.
- Proper Storage: Store unused cartridges properly. I recommend a cool, dark place and in their original packaging (if possible).
Remember- regular maintenance of your Epson L565 printer can enhance its performance and keep it working for years.
Conclusion
So, how to reset Epson L565 printer?
The easiest ways to do this are via the control panel and Resetter. You can also play with some buttons, like Reset, Paper, etc., to restore the original settings. Furthermore, you should also reinstall the drivers from the official Epson website to give your Printer a new start.
Following these methods will surely help you fix the problem you are facing! That’s all about how you can reset an Epson L565 printer easily.